| title | date | tags | |
|---|---|---|---|
GAMES101-assignment3-Blinn-Phongf以及Shader |
2022-01-01 |
|
两个月没更新了,来填个坑
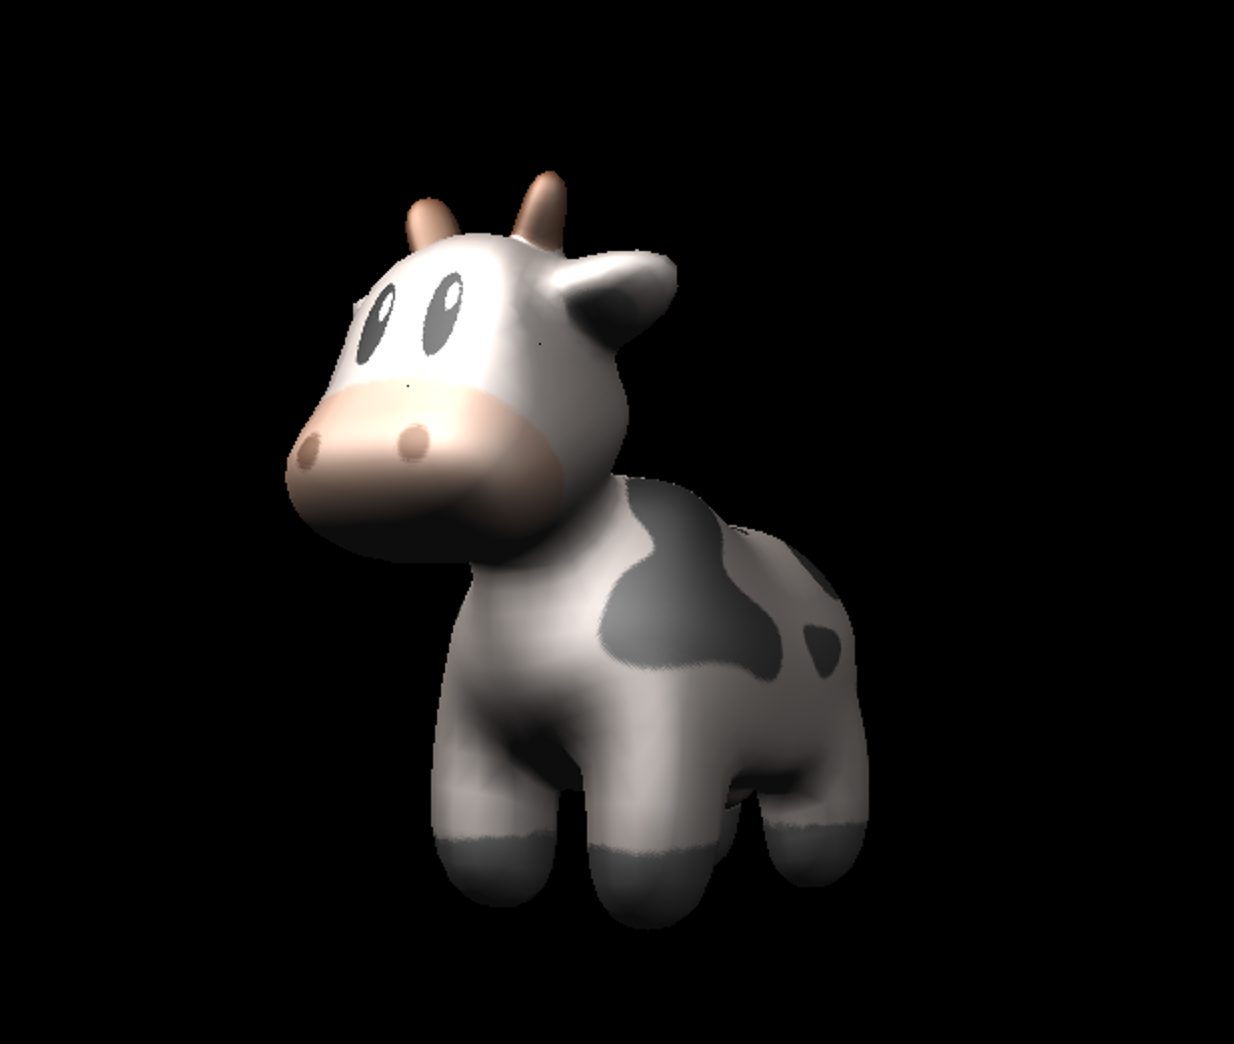
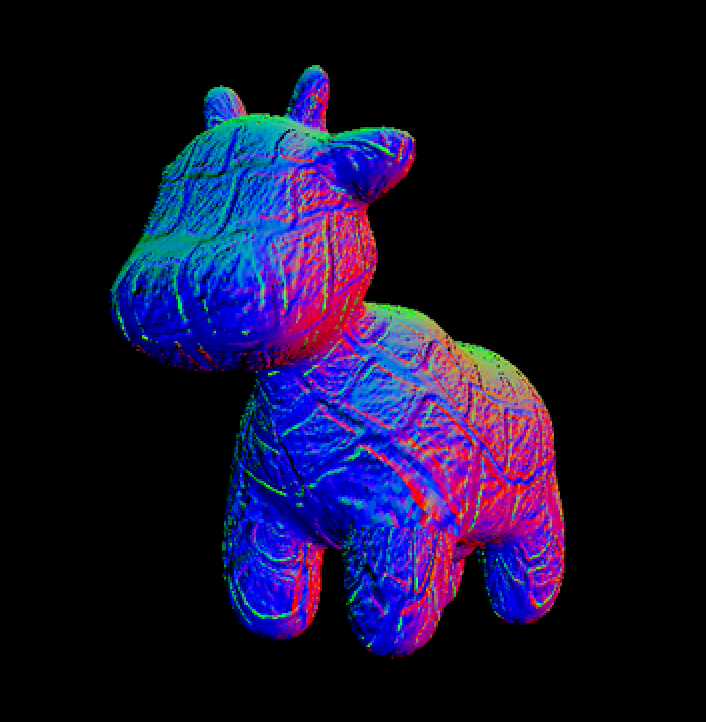
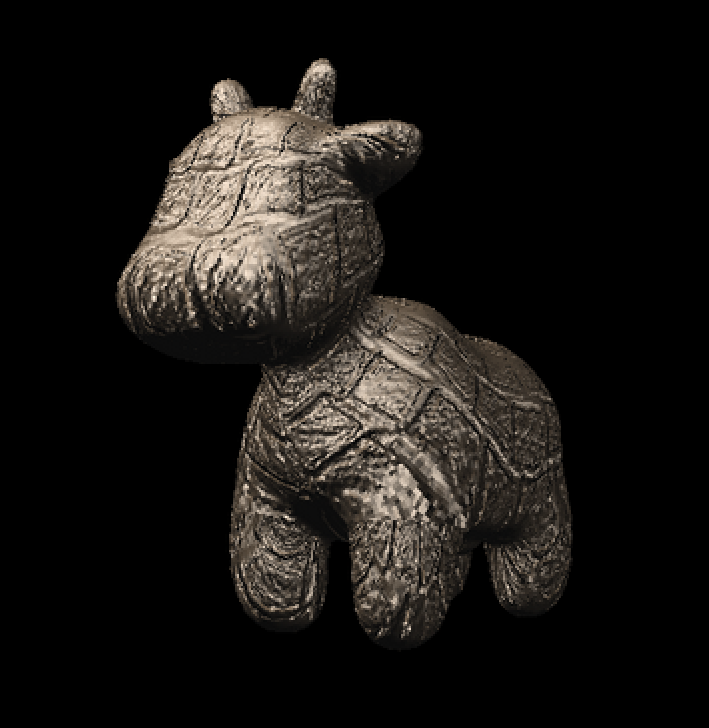
这里就贴一个texture shader运行的结果:
个人认为这次作业的主要有三个:
- 重心插值算法
- Blinn-Phong 光照模型
- shader以及texture的相关设计
这个其实没啥好说的,代码是现成的,就是在 rasterizer.cpp 里的 computeBarycentric2D 函数,最后返回的是三个值,对应三个顶点的权重。
static std::tuple<float, float, float> computeBarycentric2D(float x, float y, const Vector4f* v){
    float c1 = (x*(v[1].y() - v[2].y()) + (v[2].x() - v[1].x())*y + v[1].x()*v[2].y() - v[2].x()*v[1].y()) / (v[0].x()*(v[1].y() - v[2].y()) + (v[2].x() - v[1].x())*v[0].y() + v[1].x()*v[2].y() - v[2].x()*v[1].y());
    float c2 = (x*(v[2].y() - v[0].y()) + (v[0].x() - v[2].x())*y + v[2].x()*v[0].y() - v[0].x()*v[2].y()) / (v[1].x()*(v[2].y() - v[0].y()) + (v[0].x() - v[2].x())*v[1].y() + v[2].x()*v[0].y() - v[0].x()*v[2].y());
    float c3 = (x*(v[0].y() - v[1].y()) + (v[1].x() - v[0].x())*y + v[0].x()*v[1].y() - v[1].x()*v[0].y()) / (v[2].x()*(v[0].y() - v[1].y()) + (v[1].x() - v[0].x())*v[2].y() + v[0].x()*v[1].y() - v[1].x()*v[0].y());
    return {c1,c2,c3};
}
然后我们就可以对三角形内部的点进行颜色、法线、以及各种坐标的插值。
根据课程中给出的公式,我们可以计算 $$ L_d $$ , $$ L_s
对应代码如下:
for (auto& light : lights)
    {
        // TODO: For each light source in the code, calculate what the *ambient*, *diffuse*, and *specular*
        // components are. Then, accumulate that result on the *result_color* object.
        float r = calDistance_p2p(point,light.position); //计算光源到点的距离
        Eigen::Vector3f l = (light.position - point).normalized();
        Eigen::Vector3f v = (eye_pos - point).normalized();
        Eigen::Vector3f h = (l + v).normalized(); //计算半程向量
        L_d += kd.cwiseProduct(light.intensity)*MAX(0,normal.dot(l))/(r*r);
        L_s += ks.cwiseProduct(light.intensity)*pow(MAX(0,normal.dot(h)),8)/(r*r); //p设置为8
    }
    L_a = ka.cwiseProduct(amb_light_intensity);
result_color = L_d + L_s + L_a;这次作业涉及到shader的设计,尤其是涉及到贴图时,个人感觉代码有点难看懂,所以在这里梳理一下。
首先,从 main.cpp 出发,我们要初始化一个 rasterizer:
rst::rasterizer r(700, 700);我们需要为这个 rasterizer 指定相关的贴图:
auto texture_path = "hmap.jpg";
r.set_texture(Texture(obj_path + texture_path));
同时为它指定相关的 shader, 此处的active_shader是一个函数,输入是fragment_shader_payload ,输出是Eigen::Vector3f, 也就是颜色值。我们可以实现不同的 active_shader 来达到不同的效果。
r.set_fragment_shader(active_shader);传入了对应的shader函数后,我们会在 rasterizer.cpp 中,绘制三角形时取颜色值时用到:
auto interpolated_color = interpolate(alpha,beta,gamma,t.color[0],t.color[1],t.color[2],1);
auto interpolated_normal = interpolate(alpha,beta,gamma,t.normal[0],t.normal[1],t.normal[2],1);
auto interpolated_texcoords = interpolate(alpha,beta,gamma,t.tex_coords[0],t.tex_coords[1],t.tex_coords[2],1);
auto interpolated_viewpos = interpolate(alpha,beta,gamma,view_pos[0],view_pos[1],view_pos[2],1);
fragment_shader_payload payload( interpolated_color, interpolated_normal.normalized(), interpolated_texcoords, texture ? &*texture : nullptr);
payload.view_pos = interpolated_viewpos;
auto pixel_color = fragment_shader(payload);
Eigen::Vector2i point;
point << x,y;
set_pixel(point,pixel_color);
depth_buf[index] = z_interpolated;
我们只要传入一个对应的 payload ,就可以通过shader函数来获取一个对应的颜色值。
关于texture,这里在初始化 payload 时将rasterizer 的成员变量中的 texture 传给了 payload 。
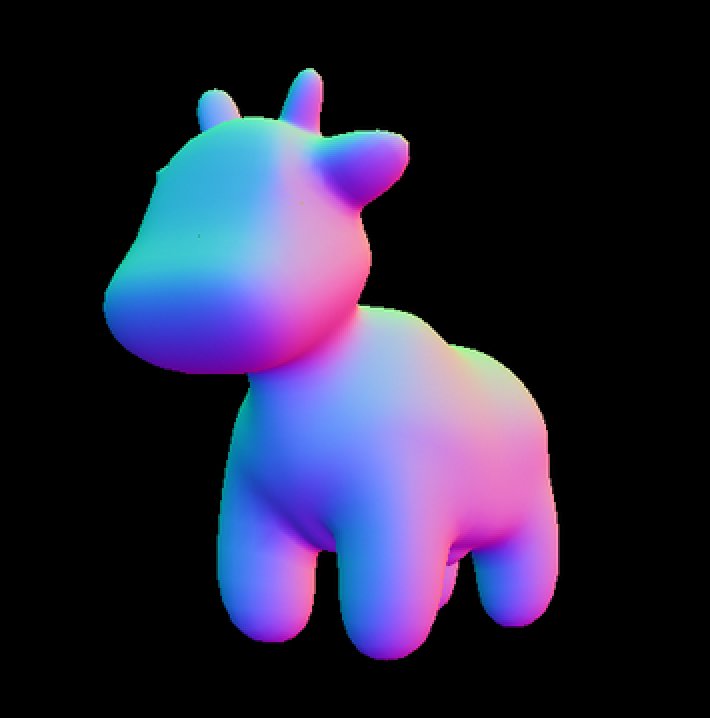
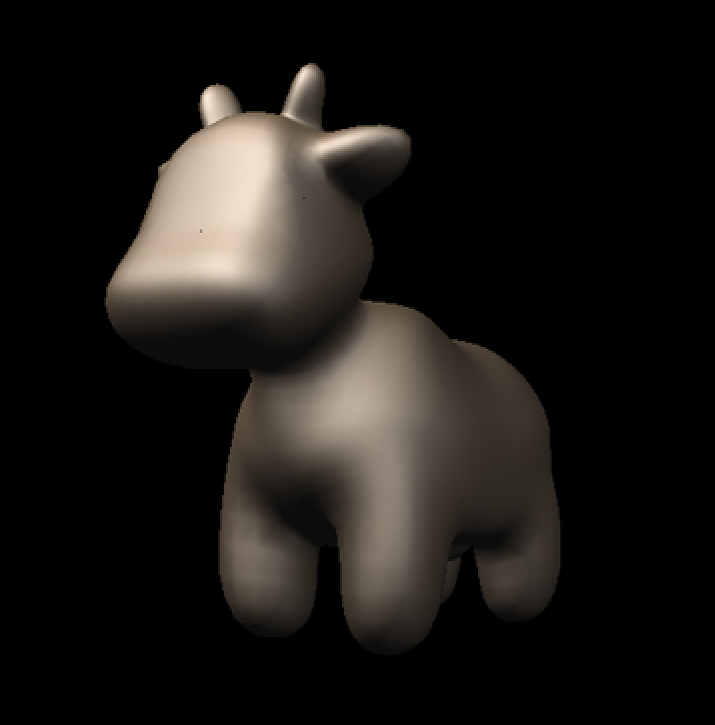
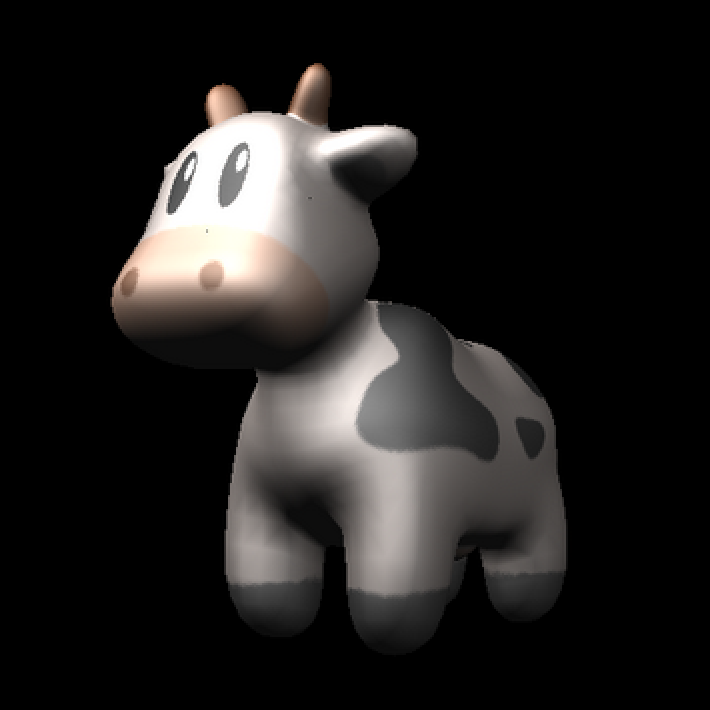
最后,展示一下所有不同shader实现的结果~
