| title | date | tags | |
|---|---|---|---|
如何使用assimp读取obj文件的材质 |
2022-03-25 |
|
日期: 2022年3月25日
之前在看LearnOpenGL的[这一节](https://learnopengl-cn.github.io/03 Model Loading/03 Model/),主要讲的就是使用assimp来加载模型,但是给的参考代码只针对了模型有材质贴图的情况,也就是通过去获取diffuse贴图以及specular贴图的方式获得模型的材质。
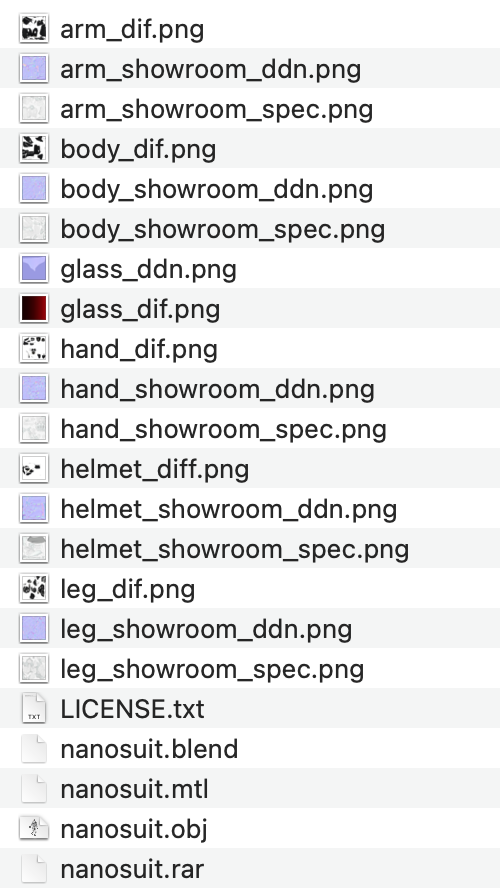
比如这是官方给的示例的文件,其中包含了很多的材质贴图:
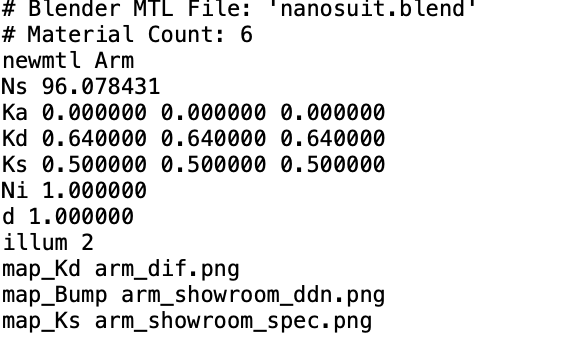
在相关的mtl文件里也链接到了具体的贴图文件:
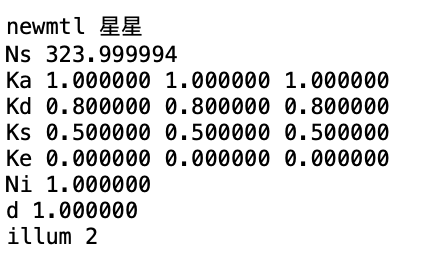
但是我们在使用blender等很多软件建模时是没有材质贴图的,一般来说只有一个obj文件和一个mtl文件:
所以只要想办法获取到mtl文件里的Ka, Kd, Ks这几项,然后想办法把它传进shader渲染就行了。
首先,使用assimp来获取这几个值的核心代码在这里:
Material loadMaterialWithoutTextures(aiMaterial *mat){
        Material result;
        aiColor3D color;
        //读取mtl文件顶点数据
        mat->Get(AI_MATKEY_COLOR_AMBIENT, color);
        result.ambient = glm::vec3(color.r, color.g, color.b);
        mat->Get(AI_MATKEY_COLOR_DIFFUSE, color);
        result.diffuse = glm::vec3(color.r, color.g, color.b);
        mat->Get(AI_MATKEY_COLOR_SPECULAR, color);
        result.specular = glm::vec3(color.r, color.g, color.b);
        return result;
    }
需要进行一些判断来这个mesh是否是拥有材质贴图的mesh,如果没有材质贴图,就去读取Ka, Kd, Ks,否则就直接去读取贴图(原本的实现方法)。
if(material->GetTextureCount(aiTextureType_DIFFUSE) == 0 && material->GetTextureCount(aiTextureType_SPECULAR) == 0){
                //没有贴图,之前读取模型的material的值
                Material colorMaterial = loadMaterialWithoutTextures(material);
                return Mesh(vertices, indices, colorMaterial);
            }
            else{
                vector<Texture> diffuseMaps = loadMaterialTextures(material,
                                                                   aiTextureType_DIFFUSE, "texture_diffuse");
                textures.insert(textures.end(), diffuseMaps.begin(), diffuseMaps.end());
                vector<Texture> specularMaps = loadMaterialTextures(material,
                                                                    aiTextureType_SPECULAR, "texture_specular");
                textures.insert(textures.end(), specularMaps.begin(), specularMaps.end());
                return Mesh(vertices, indices, textures);
            }
这里仅仅列举了一部分需要修改的代码,实际上还需要修改很多地方,比如说Mesh相关的构造函数,Draw函数等等,比如说,我这里还修改了相关的Shader,通过在shader代码里创建两个不同的材质结构体,以及一个bool量,来实现决定渲染时,应该采用哪一种方式:
//带有贴图的Material
struct Material {
    sampler2D diffuse;
    sampler2D specular;
    float shininess;
};
uniform Material material;

//不带有贴图的Material
struct MaterialWithoutTexture {
    vec3 ambient;
    vec3 diffuse;
    vec3 specular;
    float shininess;
};
uniform MaterialWithoutTexture materialWithoutTexture;

uniform bool hasTexture;
vec3 ambient;
vec3 diffuse;
vec3 specular;
if(hasTexture){
ambient = light.ambient * vec3(texture(material.diffuse, TexCoords));
diffuse = light.diffuse * diff * vec3(texture(material.diffuse, TexCoords));
specular = light.specular * spec * vec3(texture(material.specular, TexCoords));
}else{
ambient = light.ambient * materialWithoutTexture.diffuse ; //虽然material里有ambient,但是不使用ambient
diffuse = light.diffuse * diff * materialWithoutTexture.diffuse;
specular = light.specular * spec * materialWithoutTexture.specular;
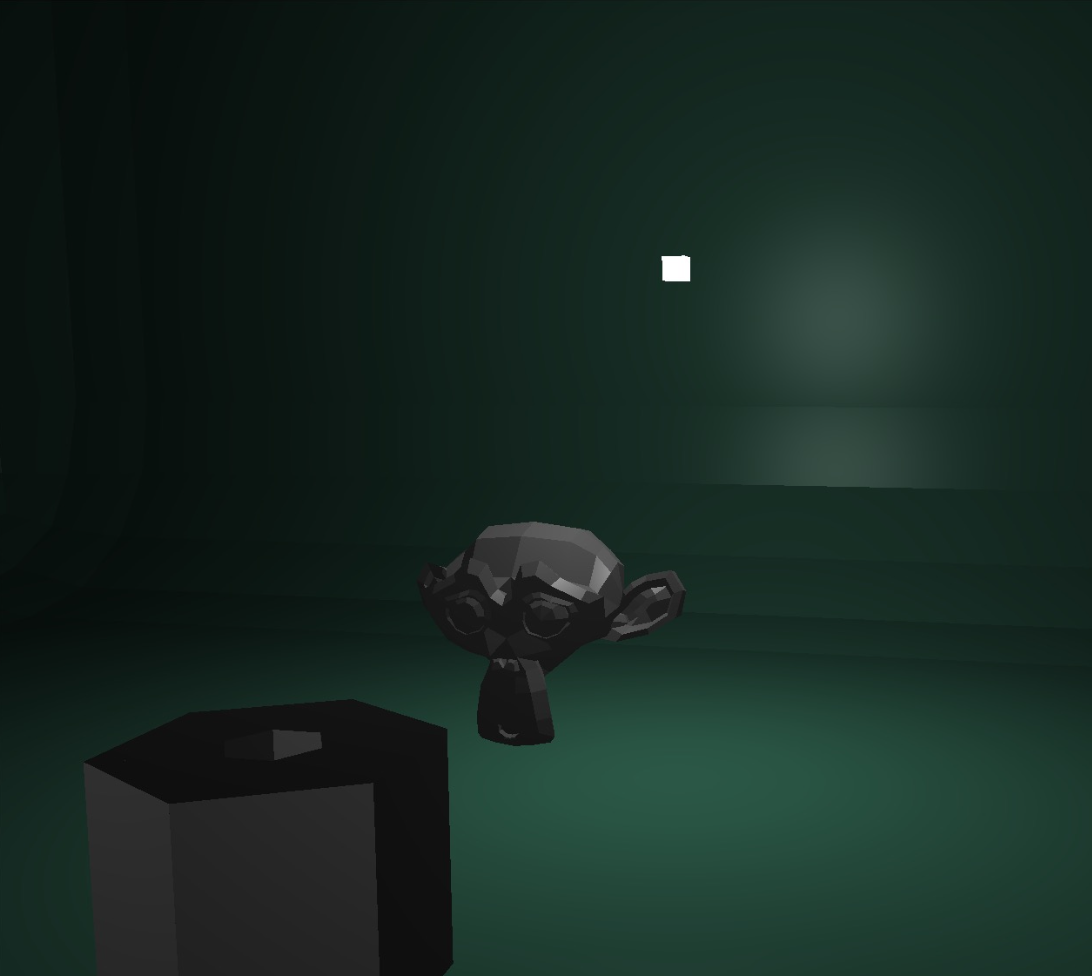
}最后就可以直接对没有贴图的obj来进行渲染了~


