CSDN 链接:https://blog.csdn.net/qq_18572023/article/details/116331601
首先请确保安装了用于自定义 IBus 的 GNOME Shell 扩展:https://extensions.gnome.org/extension/4112/customize-ibus/
可以参考这里:https://linux.cn/article-9447-1.html 来从 Web 浏览器安装 GNOME Shell 扩展。
或者
- Linux:
git clone https://github.com/openSUSE/Customize-IBus.git
cd Customize-IBus && make install- FreeBSD:
git clone https://github.com/openSUSE/Customize-IBus.git
cd Customize-IBus && gmake install
如果你想将该插件作为系统插件为所有用户安装:
- Arch 系:
yay -S gnome-shell-extension-customize-ibus- Fedora:
wget https://github.com/openSUSE/Customize-IBus/raw/package-repo/customize-ibus-rpm.repo
sudo mv customize-ibus-rpm.repo /etc/yum.repos.d/
sudo dnf update
sudo dnf install gnome-shell-extension-customize-ibus- OpenSUSE:
wget https://github.com/openSUSE/Customize-IBus/raw/package-repo/customize-ibus-rpm.repo
sudo mv customize-ibus-rpm.repo /etc/zypp/repos.d/
sudo zypper refresh
sudo zypper install gnome-shell-extension-customize-ibus或者直接通过ymp 文件安装。
- Debian 系(Ubuntu):
echo "deb http://opensuse.github.io/Customize-IBus/deb/ /" | sudo tee -a /etc/apt/sources.list.d/customize-ibus-deb.list > /dev/null
wget -q -O - http://opensuse.github.io/Customize-IBus/hollowman.pgp | sudo apt-key add -
sudo apt update
sudo apt install gnome-shell-extension-customize-ibus
PPA:
sudo add-apt-repository ppa:hollowman86/customize-ibus
sudo apt-get update
你可以通过 OpenSUSE OBS 下载绝大部分 Linux 发行版对应的相关安装包后安装。
- Gentoo:
git clone https://github.com/openSUSE/Customize-IBus.git
cd Customize-IBus && make emerge- NixOS:
sudo nix-env -i gnomeExtensions.customize-ibus- Guix:
guix install gnome-shell-extension-customize-ibus- FreeBSD:
wget https://github.com/openSUSE/Customize-IBus/raw/package-repo/customize_ibus.conf
sudo mkdir -p /usr/local/etc/pkg/repos/
sudo mv customize_ibus.conf /usr/local/etc/pkg/repos/
sudo pkg update
sudo pkg install gnome-shell-extension-customize-ibus
安装之后,你会发现 IBus 输入源指示面板中多了一个菜单选项自定义IBus,点击后即可打开自定义 IBus 配置选项。如果没有该菜单项,你可以Alt+F2然后按r重启 shell,或者注销之后重新登陆。如果还是不行,请确保你安装了最新版的插件并且已经开启了该插件。
你也可以在https://extensions.gnome.org/local/中点击 Customize IBus 插件的配置图标来打开该选项。
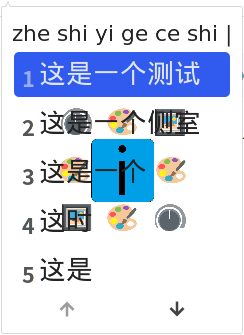
点击候选框方向左侧的复选框来进行选中,即可支持配置 IBus 输入法候选框方向。点击右侧进行选择,支持设定为竖直或者水平。
点击候选框动画左侧的复选框来进行选中,即可支持配置 IBus 输入法候选框动画。点击右侧进行选择,支持设定为无动画、滑动、渐退、两种都有。
点击候选框右击左侧的复选框来进行选中,即可支持在使用 IBus 输入法时右键点击候选框进行相关操作。点击右侧进行选择,支持设定为打开菜单或者切换输入源。
点击候选框滚动左侧的复选框来进行选中,即可支持在使用 IBus 输入法时在候选框上滚动鼠标进行相关的操作。点击右侧进行选择,支持设定为切换当前候选词或者页面。
点击固定候选框左侧的复选框来进行选中,即可支持固定候选框。点击右侧进行选择。支持设定 9 种方位,推荐同时启用拖拽移动候选框从而可以随时移动候选框位置。当选择记住最后位置时,可以永远记住你上次拖拽的位置,并且在下次登陆时恢复。
点击自定义字体左侧的复选框来进行选中,即可支持配置 IBus 输入法候选框中文字的字体和字号。点击右侧,打开字体选择器,弹出的对话框中上部可以选择你想要的字体,下部可以选择字号,点击选择确认修改。
点击自动切换源左侧的复选框来进行选中,即可支持配置窗口切换时输入法默认切换语言。点击最右侧进行选择,支持设定为中文或者英文,如果选择保持则保持切换窗口时输入法状态不变。在右侧你还可以选择是否记住输入状态。当记住输入状态被启用时,那么你在一个应用中手动切换了输入源,则该应用的输入源模式将会被自动记住。另外,新打开的应用将会遵循你的输入源配置,应用的输入状态将会永远被记住。
点击候选框透明左侧的复选框来进行选中,即可支持配置候选框透明度。滑动最右侧按钮进行透明度的设定,范围为 0 到 255,步进为 1。
点击固定输入法列表右侧的开关即可开启或关闭此功能。
如果你系统中使用多种输入法,在使用键盘切换输入法时(通常是Win + Space),屏幕上默认显示的输入法排序会依次为最近使用的输入法。开启此功能可以修改为输入法的设置配置先后顺序。
点击拖拽移动候选框右侧的开关即可开启或关闭此功能。
点击候选框调页按钮右侧的开关即可显示或隐藏候选框调页按钮。
这里你可以选择显示 IBus 托盘图标,启用直接点击切换输入源,为位于系统托盘处的 IBus 输入源指示菜单增加额外的菜单项,来复原 IBus 在非 GNOME 桌面的体验。各菜单功能如文字描述,点击右侧切换按钮即可启用。
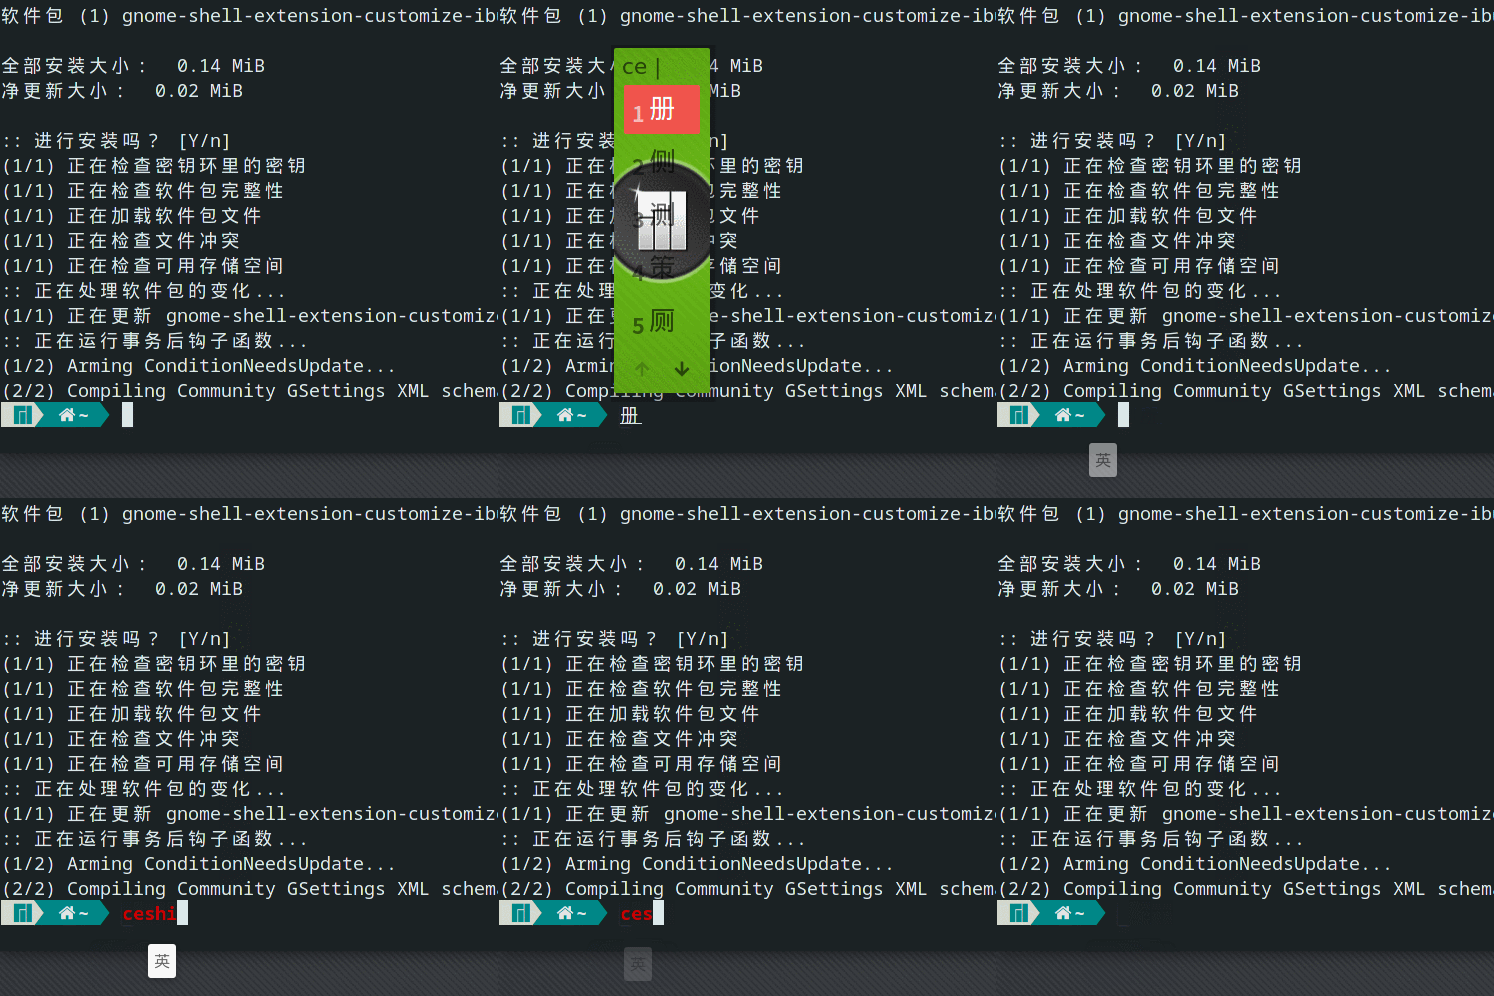
这里你可以选择开启输入源指示器,默认是当你打字、移动文字光标或者切换输入源时显示指示器。你可以设定仅当切换输入源时显示指示器,点击右侧切换按钮即可启用。你还可以设定仅当使用英文输入时指示((对于多模式输入法)),当使用单模式输入法时不指示,启用右击关闭指示器,启用滚动切换输入源,指示器显示动画,显示动画支持无动画、滑动、渐退和两种动画都同时显示。还支持设定指示器字体。另外支持设定启用指示器鼠标左击操作行为,可以设为拖拽移动和切换输入源。另外可以设定指示器透明度,支持设定值为 0 到 255,设定步进为 1。你还可以启用指示器显示时延、启用指示器自动隐藏时延,支持始终显示和 1 秒到 5 秒范围内设定隐藏时延,设定步进为 1。
**注:**如果你选择启用显示时延,当你切换输入源或窗口时不会有显示延时。
同常规部分,单击左侧复选框选中来进行功能的启用,单击右侧进行 IBus 主题样式表选择。
如果你已经选择了某个样式表,点击最右边的图标还可以直接打开查看该样式表。你还可以点击清除图标来选择跟随系统主题。
支持导入由 IBus 主题工具生成的或者由IBus 主题集合提供的样式表。
当浅色主题和深色主题同时开启时,IBus 主题将会自动跟随 GNOME 夜灯模式,关闭时使用浅色主题,开启时使用深色主题。当浅色主题和深色主题只有一个被开启时,扩展将会始终使用那个开启的主题。
如非调试需要,请勿在 IBus 主题样式表中加入非 .candidate-* 开头的类,以免干扰系统主题。
如你的 IBus 样式表在应用后作出了更改,请关闭并重新开启对应 从 v69 开始,支持样式表热重载, CSS 的变化会实时地体现出来。自定义主题来使其生效。
你可以到该网站下载更多 GNOME Shell 主题:https://www.pling.com/s/Gnome/browse/cat/134/order/latest/ ,下载完成之后将其放在$HOME/.themes/目录下即可完成安装。
IBus 主题工具样式表生成借助于电脑上已经安装了的 GNOME Shell 主题进行 IBus 样式的提取,其提取步骤如下:
-
参见下文中
非GNOME桌面->自定义IBus主题步骤 1-2 来运行程序。 -
输入你想要存放导出的 IBus 相关 GNOME Shell 主题样式文件地址,并按下回车。空选择则默认为当前目录下的
exportedIBusTheme.css文件。如无错误提示则成功导出到指定位置。
示例导出文件:
/*
 由 IBus 主题工具生成
 工具作者: Hollow Man <[email protected]>
 工具源代码: https://github.com/openSUSE/IBus-Theme-Tools
 工具许可证: GPLv3
 样式表源文件: /usr/share/gnome-shell/theme/gnome-classic-high-contrast.css

 推荐使用 自定义 IBus GNOME Shell 扩展:
 https://extensions.gnome.org/extension/4112/customize-ibus/
 来通过选定此文件改变IBus主题。

 如你的 IBus 样式表在应用后作出了更改,Customize IBus 扩展版本
 为 v68 之前的请关闭并重新开启对应`自定义主题`来使其生效。


 从 v69 开始,支持样式表热重载, CSS 的变化会实时地体现出来。
*/

/*
 引入自样式表文件: /usr/share/gnome-shell/theme/gnome-classic.css
*/

.candidate-page-button:focus {
  color: #2e3436;
  text-shadow: 0 1px rgba(255, 255, 255, 0.3);
  icon-shadow: 0 1px rgba(255, 255, 255, 0.3);
  box-shadow: inset 0 0 0 2px rgba(53, 132, 228, 0.6);
}

.candidate-page-button:hover {
  color: #2e3436;
  background-color: white;
  border-color: #d6d1cd;
  box-shadow: 0 1px 1px 0 rgba(0, 0, 0, 0.1);
  text-shadow: 0 1px rgba(255, 255, 255, 0.3);
  icon-shadow: 0 1px rgba(255, 255, 255, 0.3);
}

.candidate-page-button:insensitive {
  color: #929595;
  border-color: #e1ddda;
  background-color: #faf9f8;
  box-shadow: none;
  text-shadow: none;
  icon-shadow: none;
}

.candidate-page-button:active {
  color: #2e3436;
  background-color: #efedec;
  border-color: #cdc7c2;
  text-shadow: none;
  icon-shadow: none;
  box-shadow: none;
}

.candidate-index {
  padding: 0 0.5em 0 0;
  color: #17191a;
}

.candidate-box:selected,
.candidate-box:hover {
  background-color: #3584e4;
  color: #fff;
}

.candidate-page-button-box {
  height: 2em;
}

.vertical .candidate-page-button-box {
  padding-top: 0.5em;
}

.horizontal .candidate-page-button-box {
  padding-left: 0.5em;
}

.candidate-page-button-previous {
  border-radius: 5px 0px 0px 5px;
  border-right-width: 0;
}

.candidate-page-button-next {
  border-radius: 0px 5px 5px 0px;
}

.candidate-page-button-icon {
  icon-size: 1em;
}

.candidate-box {
  padding: 0.3em 0.5em 0.3em 0.5em;
  border-radius: 5px; /* 修复候选词颜色 */
  color: #2e3436;
}

.candidate-popup-content {
  padding: 0.5em;
  spacing: 0.3em; /* 修复系统主题IBus背景部分被替换的主题继承 */
  background: transparent;
  /* 修复系统主题IBus边框部分被替换的主题继承 */
  border: transparent;
  /* 修复系统主题IBus边框阴影部分被替换的主题继承 */
  box-shadow: none;
  /* 修复候选词颜色 */
  color: #2e3436;
}

.candidate-popup-boxpointer {
  -arrow-border-radius: 9px;
  -arrow-background-color: #f6f5f4;
  -arrow-border-width: 1px;
  -arrow-border-color: #cdc7c2;
  -arrow-base: 24px;
  -arrow-rise: 12px;
  -arrow-box-shadow: 0 1px 3px rgba(0, 0, 0, 0.5); /* 修复当系统主题为黑色时指示框黑边 */
  border-image: none;
}

/* 结合系统调页按钮和IBUS样式的调页按钮 */
.candidate-page-button {
  border-style: solid;
  border-width: 1px;
  min-height: 22px;
  padding: 3px 24px;
  color: #2e3436;
  background-color: #fdfdfc;
  border-color: #cdc7c2;
  box-shadow: 0 1px 1px 0 rgba(0, 0, 0, 0.1);
  text-shadow: 0 1px rgba(255, 255, 255, 0.3);
  icon-shadow: 0 1px rgba(255, 255, 255, 0.3); /* IBUS样式的调页按钮 */
  padding: 4px;
}

/* 文件结束 */你也可以直接到IBus 主题集合,下载单独制作的 IBus 主题定义样式表文件。这里给出微软输入法风格的 IBus 主题样式表文件:https://github.com/openSUSE/IBus-Theme-Hub/tree/main/%E4%BB%BF%E5%BE%AE%E8%BD%AFMicrosoft
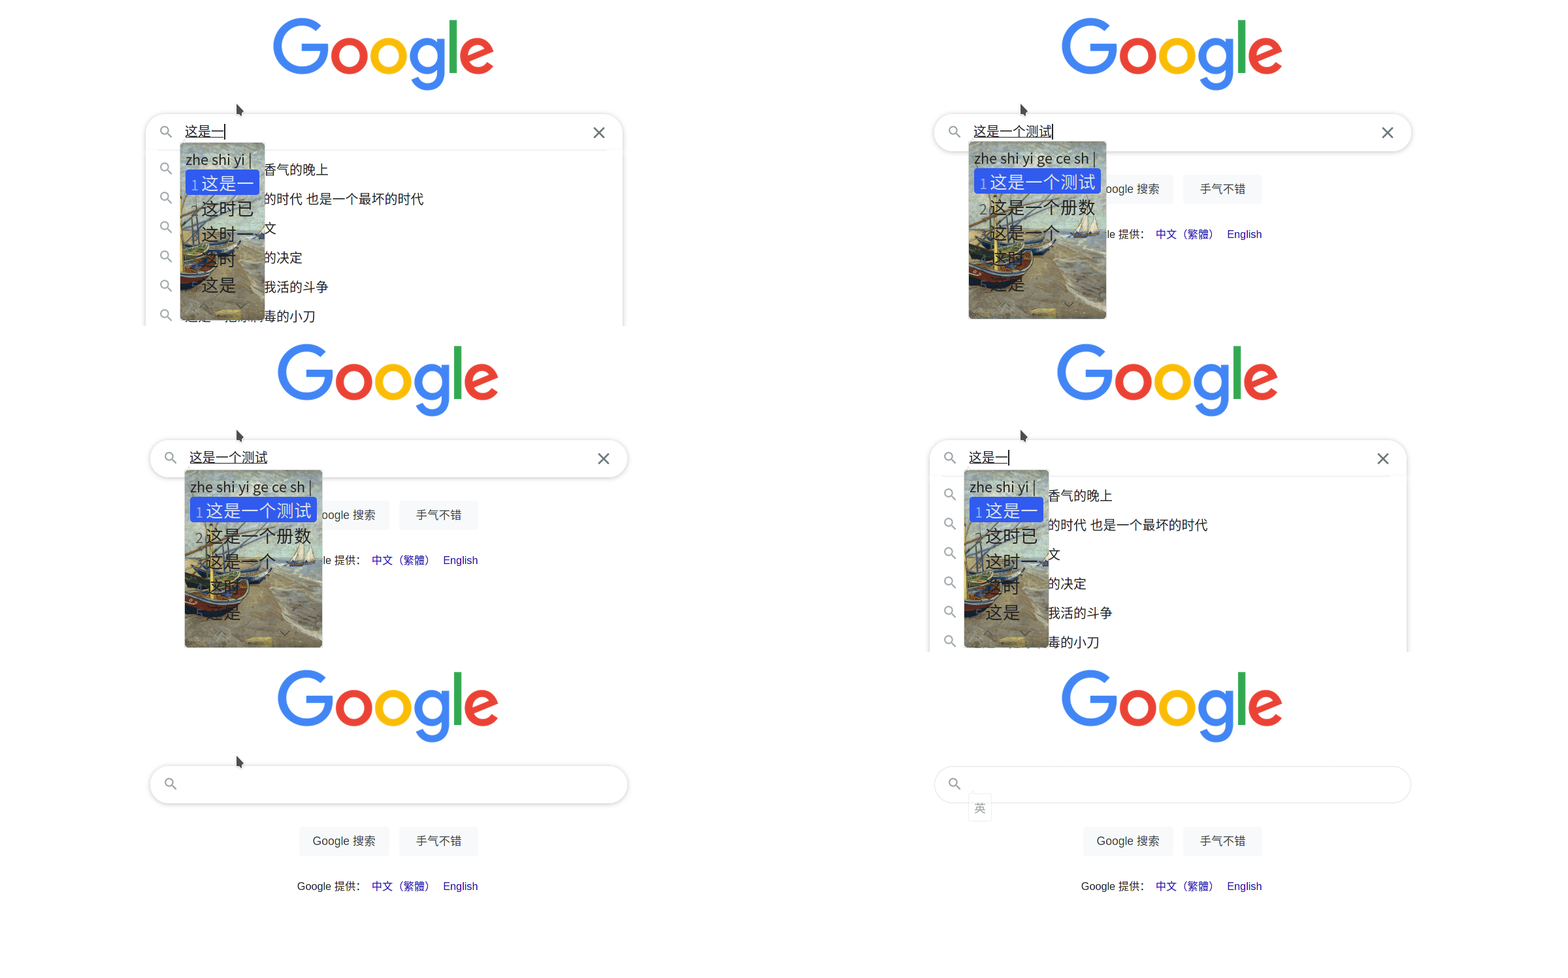
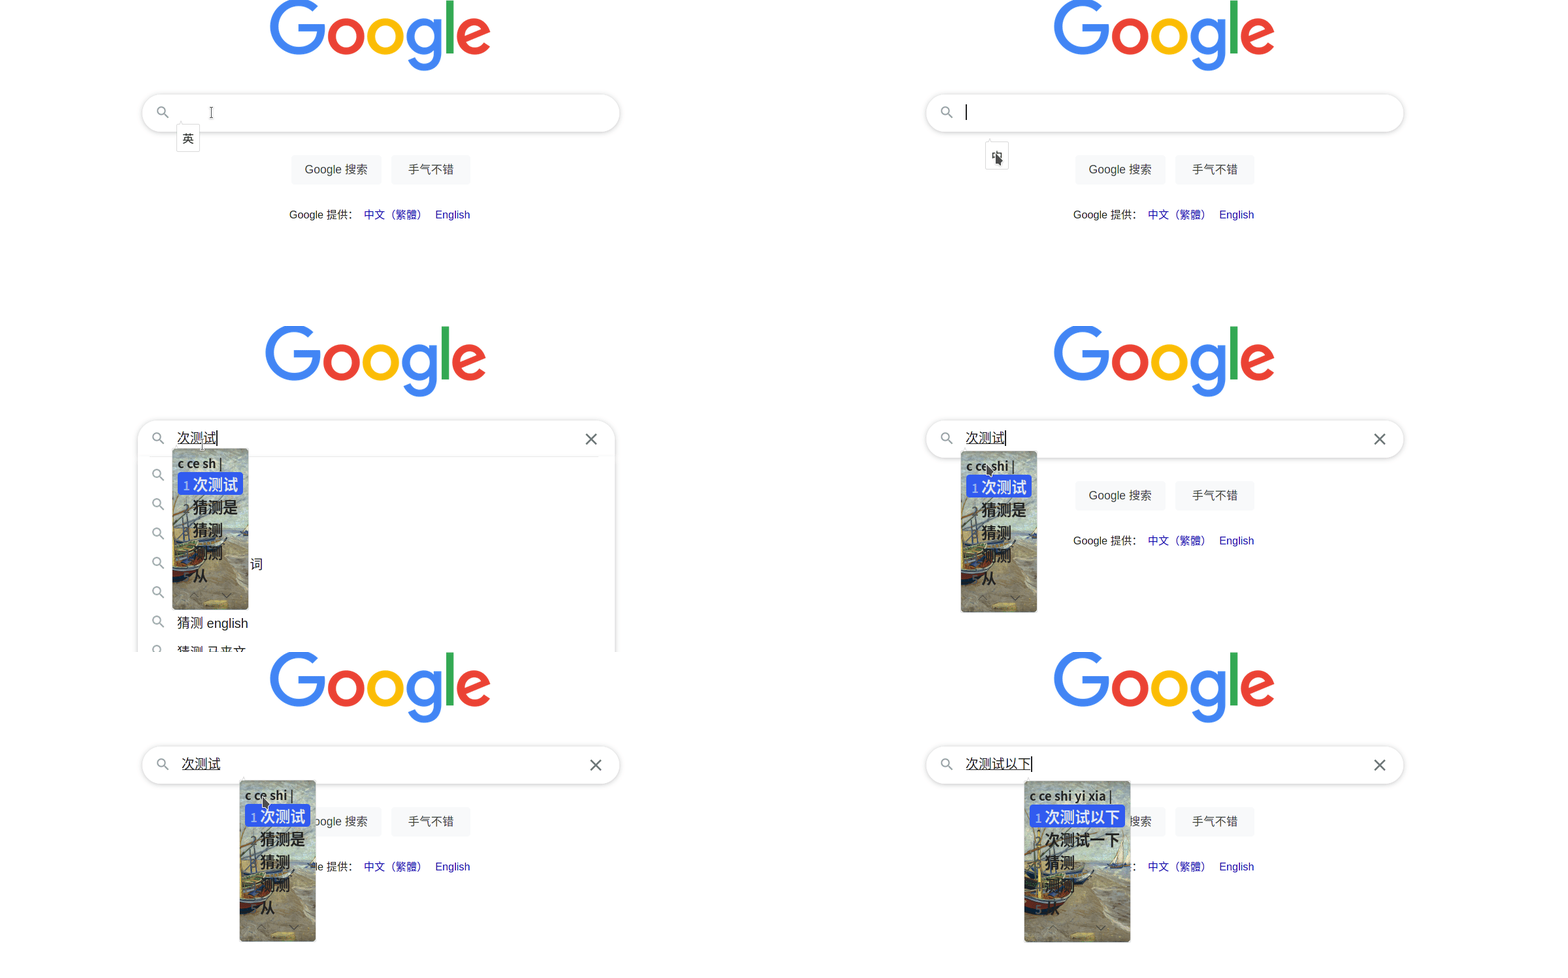
支持使用图片来自定义 IBus 候选框背景,其具有比主题背景更高的优先级。
如果你已经选择了某个图片,点击最右边的图标还可以直接打开查看该图片。你还可以点击清除图标来选择跟随主题定义图片。
当浅色背景和深色背景同时开启时,IBus 背景将会自动跟随 GNOME 夜灯模式,关闭时使用浅色背景,开启时使用深色背景。当浅色背景和深色背景只有一个被开启时,扩展将会始终使用那个开启的背景。
请确保背景图片始终可以访问,如你的图片存放在可移动设备,系统默认不挂载,每次手动挂载后请关闭并重新开启对应自定义背景来使其生效。
同常规部分,单击左侧复选框选中来进行功能的启用,单击最右侧进行 IBus 输入候选框背景图片的选择。
你还可以设定背景图片显示模式,可以设定背景图片是否重复显示,以及显示方式为居中,铺满或者裁剪。
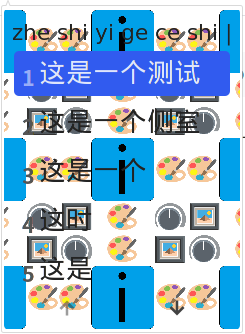
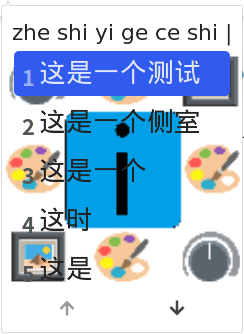
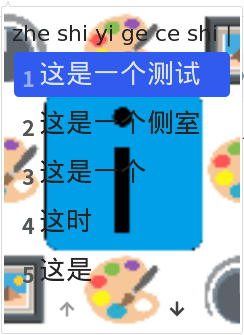
示例各种图片显示模式(使用 128x128 的压缩后图片:https://github.com/openSUSE/Customize-IBus/blob/main/customize-ibus%40hollowman.ml/img/logo.png ):
这里你可以将所有插件设置重置为默认值。你也可以将当前设置导出为 ini 文件来进行备份,后面等需要恢复设置时再导入。另外供你参考的是,你也可以打开官方的 IBus 自定义设置来自定义你在此插件中未曾找到的设定。
点击恢复默认设置,确认之后可以将此插件进行初始化操作。
点击导出当前设置,你可以选择将当前设置导出为*.ini文件。默认文件名为Customize_IBus_Settings_[当前时间].ini:
示例设置导出文件内容:
[/]
candidate-box-position={'x': uint32 0, 'y': 0}
candidate-opacity=uint32 210
candidate-orientation=uint32 0
candidate-scroll-mode=uint32 0
custom-bg='/home/hollowman/图片/light.jpg'
custom-bg-dark='/home/hollowman/图片/dark.jpg'
custom-bg-mode=uint32 2
custom-bg-repeat-mode=uint32 1
custom-font='Sans 16'
custom-theme='/home/hollowman/stylesheet.css'
custom-theme-dark='/home/hollowman/stylesheet-dark.css'
enable-custom-theme=true
enable-custom-theme-dark=true
enable-orientation=true
fix-ime-list=true
ibus-restart-time='1625063857427'
indicator-custom-font='Sans Bold 16'
indicator-left-click-func=uint32 0
indicator-opacity=uint32 210
input-indicator-hide-time=uint32 2
input-indicator-not-on-single-ime=true
input-indicator-right-close=true
input-indicator-show-time=uint32 1
input-indicator-use-scroll=true
input-mode-list={'undefined': true, '': false, 'gjs': false, 'org.gnome.nautilus': false, 'google-chrome-beta': false, 'gedit': false, 'gnome-terminal': true, 'code': false, 'org.gnome.shell.extensions': true}
input-mode-remember=uint32 0
menu-ibus-emoji=true
menu-ibus-exit=true
menu-ibus-preference=true
menu-ibus-restart=true
menu-ibus-version=true
use-candidate-box-right-click=true
use-candidate-buttons=false
use-candidate-opacity=true
use-candidate-reposition=true
use-candidate-scroll=true
use-candidate-still=false
use-custom-bg=true
use-custom-bg-dark=true
use-custom-font=true
use-indicator-auto-hide=true
use-indicator-custom-font=true
use-indicator-left-click=true
use-indicator-opacity=true
use-indicator-reposition=true
use-indicator-show-delay=true
use-input-indicator=true
use-popup-animation=true
use-tray=true
use-tray-click-source-switch=true点击从文件导入,你可以选择将从刚刚保存的设置文件进行导入操作:
非 GNOME 桌面环境下,IBus 的显示效果是由 GTK 主题确定的。
你可以到该网站下载更多 GTK3/4 主题:https://www.gnome-look.org/browse/cat/135/ ,下载完成之后将其放在$HOME/.themes/目录下即可完成安装。
下列步骤可以更改 IBus 的 GTK 主题:
- 首先安装ibus-theme-tools:
推荐使用 pip 安装:
pip install ibus-theme-tools你也可以手动进行安装:
git clone https://github.com/openSUSE/IBus-Theme-Tools.git
cd IBus-Theme-Tools && python3 setup.py install
对于使用包管理器安装:
- Arch Linux,
你可以使用 AUR 安装:
yay -S ibus-theme-tools- Ubuntu:
你可以使用 PPA 安装:
sudo add-apt-repository ppa:hollowman86/ibus-theme-tools
sudo apt-get update- openSUSE
你可以直接通过ymp 文件安装.
你可以通过 OpenSUSE OBS 下载绝大部分 Linux 发行版对应的相关安装包后安装。
- Gentoo:
git clone https://github.com/openSUSE/IBus-Theme-Tools.git
cd IBus-Theme-Tools && make emerge- NixOS:
sudo nix-env -i ibus-theme-tools- Guix:
guix install ibus-theme-tools-
然后在终端中运行
ibus-theme-tools。
推荐直接更改 IBus 首选项(ibus-setup)中的字体和字号设置。
或者:
$HOME/.config/gtk-3.0/settings.ini文件定义了当前的 GTK3 主题及字体字号。
该文件的部分内容示例如下:
[Settings]
gtk-theme-name=Materia-light
gtk-font-name=更纱黑体 SC 12上述表述中,gtk-theme-name指定了当前 GTK 主题为Materia-light,gtk-font-name指定了当前的字体为更纱黑体 SC,字号为12。
可通过修改上述文件实现改变 GTK 主题字体和字号的目的。
创建一个名为ibus-custom-theme的 GTK3 主题,运行:
mkdir -p $HOME/.themes/ibus-custom-theme/gtk-3.0
$EDITOR $HOME/.themes/ibus-custom-theme/gtk-3.0/gtk.css
然后进行文件内容的编辑,文件内容示例:
* {
  color: #0b141a; /* 字体颜色 */
  background-color: #ffffff; /* 背景颜色 */
  -gtk-secondary-caret-color: #d4d4d4; /* 高亮背景颜色 */
}然后参照上面自定义 IBus 主题部分的操作,选择刚刚创建的ibus-custom-theme主题即可。


